Affiliate disclosure: As an Amazon Associate I earn from qualifying purchases. Shopping buttons open Amazon.com searches; check the exact item and regional delivery before buying.
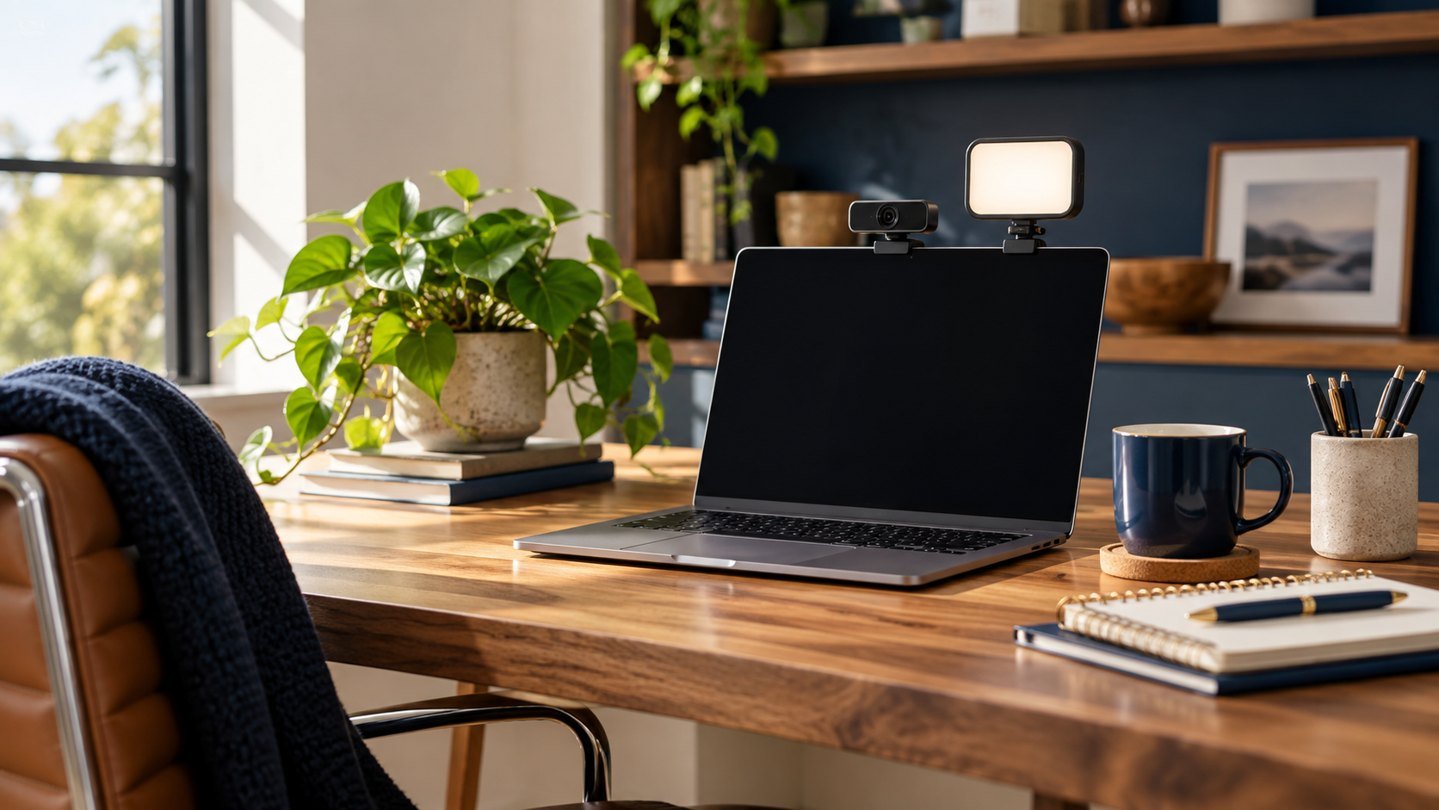
Prepared with AI assistance. Practical examples are illustrative, not hands-on test results. The featured image is an AI-generated editorial illustration of generic equipment, not an exact branded product photograph.
A better webcam cannot choose where you sit. If the brightest part of your room is behind you, start with the room before adding equipment. This guide gives you a repeatable way to improve a home-office picture without turning your desk into a studio.
The quick decision
Face a window or place a soft light near the camera, then check the result inside your meeting app. Buy a dedicated light when your normal working hours or room layout make daylight unreliable. Upgrade the camera only after you can explain what remains wrong.
Remove glasses glare without making the room darker
Start with the light slightly off the camera axis, then move it a little higher or farther sideways while watching the preview in your normal sitting position. Make one change at a time. Check both lenses while looking at the screen and while looking toward the camera; an angle that works for one gaze may reflect in the other.
If a bright computer window is reflected in your lenses, try reducing that window’s brightness or switching to a less glaring view during the call. Keep the screen readable. Do not tilt your glasses into an uncomfortable position just to match a screenshot. Save the arrangement that works during natural movement.
Run a three-position test
Open your camera preview and keep the same camera settings for all three tests. First, sit in your usual position. Second, rotate so the window is in front of you. Third, place it slightly to one side. Capture a private screenshot at each position and compare how clearly you can see your face, rather than how bright the background looks.
Choose the arrangement that works for your real desk. A beautiful angle is not useful if you must twist away from the keyboard for every call. Where moving furniture is impossible, partly close the blind and add a gentle front light. Avoid aiming an undiffused lamp directly into your eyes.
Match the fix to the symptom
| What you see | First adjustment | What to check next |
|---|---|---|
| Bright reflection in glasses | Move light sideways or higher | Recheck at normal head position |
| Strong shadows under eyes | Move light closer to camera height | Reduce overhead dominance |
| Face unnaturally orange or blue | Use fewer competing light sources | Recheck camera white balance |
| Good at noon, poor at night | Test an adjustable LED light | Save an evening setup |
Ring light, small panel or desk lamp?
A small diffused panel is a practical starting point for a fixed desk because it is easy to position beside the camera. A ring light can work too, but its reflection may be conspicuous in glasses. An existing desk lamp is worth trying if you can bounce its light from a nearby pale wall safely and without blocking ventilation.
A monitor light bar is designed primarily around the desk surface; do not assume it replaces a face light. Check the direction of the beam before buying. If your desk is already crowded, measure the clamp or stand footprint and the space your webcam needs.
A product worth comparing
Logitech describes Litra Glow as a light with TrueSoft diffusion. Treat it as a candidate for a compact face-lighting setup, not proof that every room needs one. Compare its mounting arrangement, controls and power connection with your own desk. You may prefer a freestanding light if the top of your display is already occupied.
Make the call test fair
Use the same meeting application, seat position and time of day when comparing changes. Disable cosmetic filters for the initial check. Record a short private sample if your app permits it, then inspect the picture at the size other participants will actually see. Judge skin detail, distracting glare and whether brightness changes when you move.
Do not turn every control to its maximum. A comfortable, steady image is more useful than a very bright one. If glasses glare persists, change the angle rather than simply increasing power. Label or photograph your final arrangement so you can rebuild it after cleaning the desk.
When to stop spending
Stop when people can see you clearly, lighting stays consistent through an ordinary call and the setup is comfortable. A sharper camera may help a trainer demonstrating small objects; it may add little to a routine team meeting displayed in a tiny tile.
Common questions
Will a 4K webcam fix a dark room?
Resolution alone does not fix the light reaching the camera. Improve the room and compare again before spending.
Can I use daylight only?
Yes, if it remains usable during your calls. Test at the actual time of your meetings, including evenings when relevant.
What should I buy first?
Buy nothing until you have tried repositioning. If the problem is inconsistent light, shortlist a light; if it is framing or camera capability, investigate the camera separately.
Explore suitable equipment
These are options to investigate, not a ranked list of tested winners. Specifications, compatibility and availability can change. For readers outside the US, compare local delivery, warranty and total cost.
Keep building your setup
- Webcam and Lighting Setup for Professional Video Calls
- Logitech Brio 500: Is This Webcam Enough for Work Calls?
- BenQ ScreenBar Halo: Light Bar or Desk Lamp for Your Office?
- Video Interview Setup: A Calm 30-Minute Tech Rehearsal
- USB Headset vs Desktop Microphone: Which Fits Your Work?